High-end image editing for hair and fur
Working on images that require high-end quality is quite complicated, unless one knows the tricks. For processing any images into design, image clipping is one of the first part that needs to be considered for the quality output.
Usually most designs need a normal clipping of an image. But when it comes to high-end printing, detailing part is the most important thing to keep in mind.
For processing / clipping the image, basic way of processing an image, at first is by using “magic wand” tool for selection of edges and using the “select and mask “tool for the hair clipping. In this way, any image can be easily clipped if the processed image quality is not in question.
To achieve a high-end quality clipping following steps need to be considered:
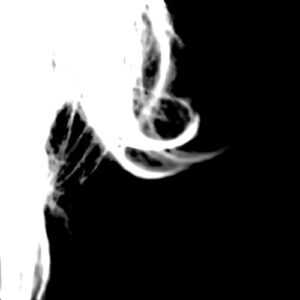
Step 1- Clip an image normally (Use a layer mask on original image)

Step 2- Clear/erase all the uneven part/broken hair. (Use Brush/eraser tool on mask layer of an image)
Step 3- Use level/curve to balance the white and black ratio of the mask layer.
Step 4 – Start to draw the hair as same as original hair
For this use “Pen tool” to draw the hair lines to fill the missing part of hair in the image. You can also use drawing tablets for drawing the hair (this usually goes faster). Fill the hair brushing part on mask layer.
Step 5- Clone/Stamp or pick a same color of hair to overlap the hair texture where the hair color is missing
Step 6 – Use “blur tool” for hair edges
This gives smoothness of the hair quality. Note: Use only a minimum value of blur starting from 0.1 to 0.5
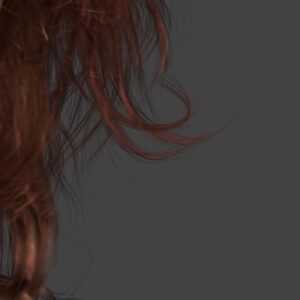
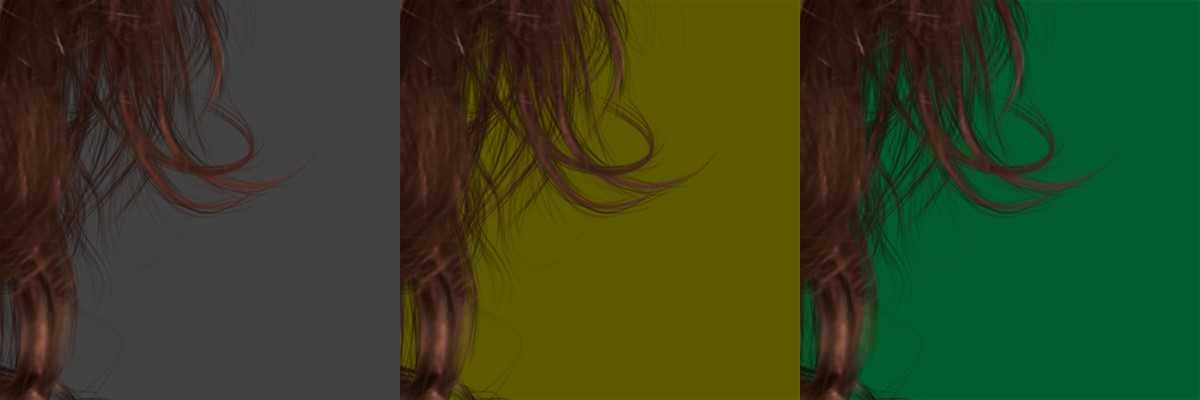
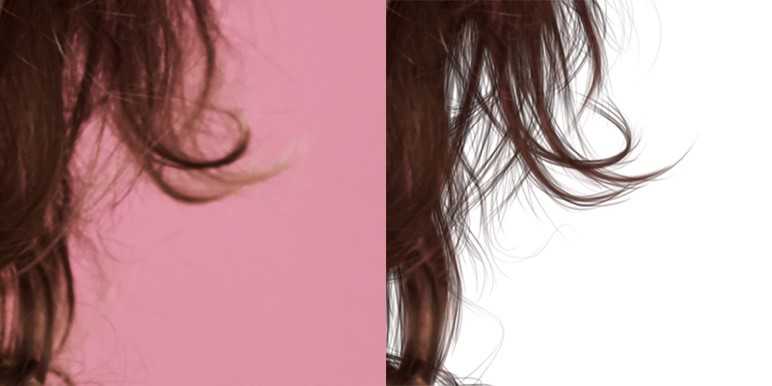
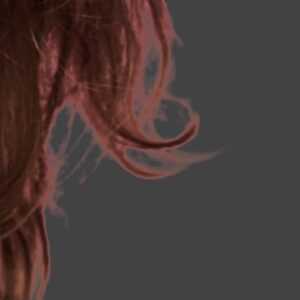
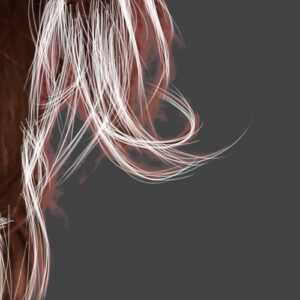
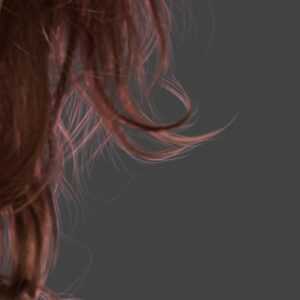
The result
Since the hair has been manually clipped and brushed well, you can use any background or colors as a backdrop for this clipped images.